Streaming a slideshow on Chromecast can feel like a small win, especially when everything connects smoothly. Whether it's vacation photos, work presentations, or family albums, showing images on the big screen makes a difference. But figuring out how to do it isn't always straightforward. Sometimes, you're toggling between apps, wondering which one casts or which format works. So, let's clear up the confusion and run through all the practical ways to get a slideshow running on Chromecast. No guesswork, no clutter—just clear methods that get the job done.
How to Play a Slideshow on Chromecast: All the Ways That Work
Casting Slideshow from Google Photos
Google Photos is probably the easiest option if your images are already backed up. If you've got an album ready, it's just connecting the dots. Open the Google Photos app on your phone or tablet, choose your desired album, and tap the Cast icon. Select your Chromecast, and you're good. The slideshow doesn't autoplay by itself—you swipe through manually. If you're using the browser version of Google Photos, you can cast the entire browser tab via Chrome. That's a quick way to get full-screen images going without much effort.
There's a small workaround if you're after an automated slideshow effect. Use the Chrome browser on your desktop and open your album. Right-click anywhere, select "Cast," and choose the "Cast tab." Then, start the slideshow manually in the browser window. It will keep going on your TV screen while you control it from your computer.
Using Google Slides for Presentations
Google Slides is a strong option if your images are organized into a presentation. It works straight from the browser, and casting it is easy. After you've opened your Google Slides presentation, just click on the three-dot menu in Chrome, hit "Cast," and choose your Chromecast. You can play the slideshow in presentation mode, and it'll appear perfectly on the screen.
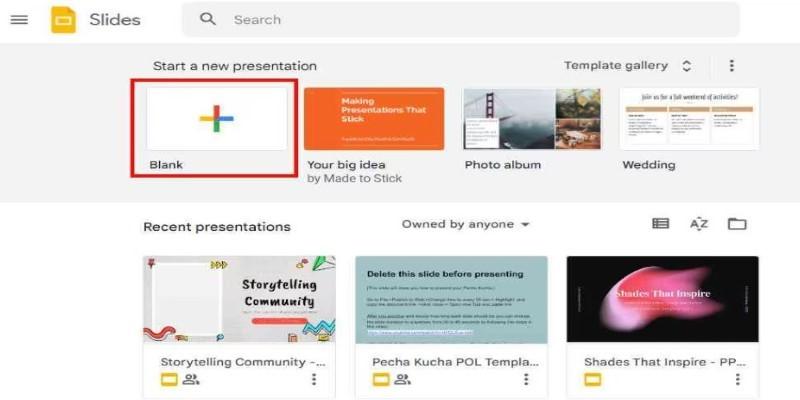
You can also control it using the Google Slides app, though the cast option is only available if your phone supports it. Most people prefer a desktop for this method because it gives more control and better viewing. Arranging the photos in a specific order is great for meetings or family gatherings.
Casting from a Folder on Your Computer
If your photos are saved locally and you don’t want to upload them to any cloud service, there’s still a way. The Chrome browser supports local files. Open Chrome, press Ctrl + O (or Cmd + O on Mac) and select the first photo in your folder. It opens as a file in Chrome. Now, use the "Cast" option to project your browser tab.
The manual part comes in again—you must click through your images individually or press the arrow keys. It's not fully automated, but it's private and doesn't require any app installations or logins. You can also organize photos into a folder and rename them in the order you want to view them. This works best if you're just sitting nearby with a keyboard or mouse to advance the photos.
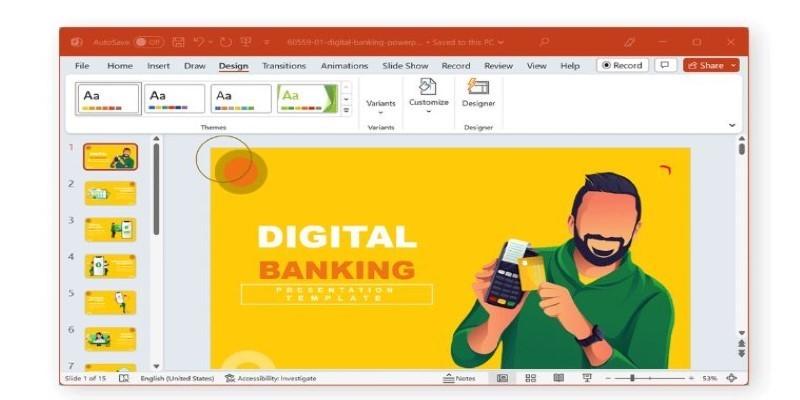
Using Microsoft PowerPoint via Chromecast
If you're more used to PowerPoint, you can still use it. But you'll need to either use the web version of PowerPoint in your Chrome browser or open the file locally and present it through Chrome Remote Desktop or by mirroring your entire screen.
For the browser version, open the file at Office.com, go to the full screen in presentation mode, and cast the browser tab. If you're using the desktop version of PowerPoint, the best workaround is to share your entire screen. Open Chrome, click the Cast option, and change the source to "Cast desktop." Then select your screen and play the PowerPoint slideshow on your computer—it'll mirror directly to Chromecast.
Casting Photos via VLC Media Player
VLC isn't just for videos—it can also handle image files. If you have a folder full of pictures, open VLC, go to "Media" > "Open Folder," and select your photo folder. Once the pictures load, go to the "Playback" menu and choose how you want them displayed. VLC can be set to automatically play them like a slideshow.
Now for the casting: go to “Playback” > “Renderer” and choose your Chromecast device. The images will begin to display on your TV. VLC may take a second to connect, but once it does, it slides in sequence, hands-free. This method is perfect for users who don't want to rely on browser tabs and prefer an app-based approach from the desktop.
Using File Explorer with Casting Support (Windows Only)
Windows 10 and newer versions support casting to devices like Chromecast directly from File Explorer—if your TV and PC are on the same Wi-Fi. Select the images you want, right-click, and look for the "Cast to Device" option. Sometimes, it's labeled "Project to this PC" or something similar, depending on the version.
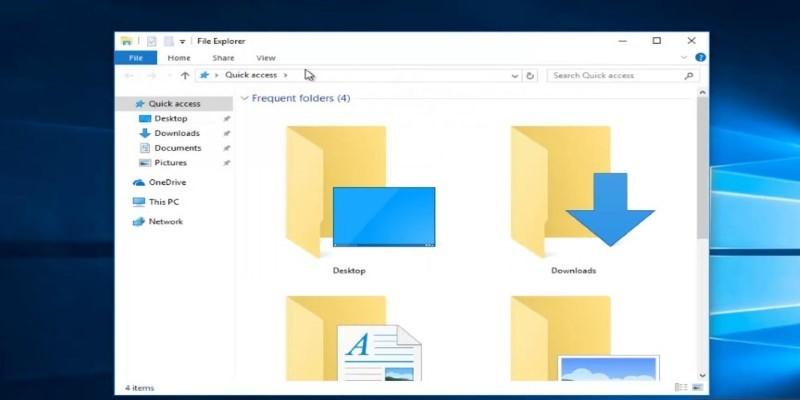
This method varies based on the file type and device support, but it can be surprisingly effective for casting a few images quickly. It's not a slideshow in the traditional sense, but if you’re manually clicking through anyway, this is as direct as it gets.
Screen Mirroring from Android Devices
Android phones and tablets with built-in casting support can mirror the screen to Chromecast. Swipe down to access quick settings, and tap on the "Cast" or "Screen Share" option. Once connected to your Chromecast, open your Gallery or File Manager app and start the slideshow feature.
Many photo viewers on Android allow slideshow playback within the app, so once your screen is mirrored, it’ll work the same way on your TV. It’s not always the sharpest or smoothest playback, depending on the device, but for spontaneous slideshows, it gets the job done without needing external apps or cloud syncing.
Wrapping Up
Whether you're showing family albums, scenic shots, or presentation slides, Chromecast offers plenty of ways to display a slideshow. Each method fits different needs—some are perfect for fast casting from your phone, while others give you full control from your desktop. Pick the one that works with your setup and stick to it. Once you get it going, it feels more natural each time.